
Yarn & Project Bag
Items Required:
4mm (US 6) Crochet Hook
Aran (10 ply) weight yarn, I used cream and grey but you can choose your own colours.
Yarn Needle
Stitch Marker
Gauge: 2" = 7 stitches x 6 rows
Weight = 143g yarn used
U.S. Terms used
Ch - Chain
HDC - Half double crochet
HDC INC - Half Double Crochet Increase
HDC DEC - Half Double Crochet Decrease
SC - Single crochet
SS - Slip Stitch
HK - Hook
Move stitch marker up as each round is completed. At the end of each round just carry on.
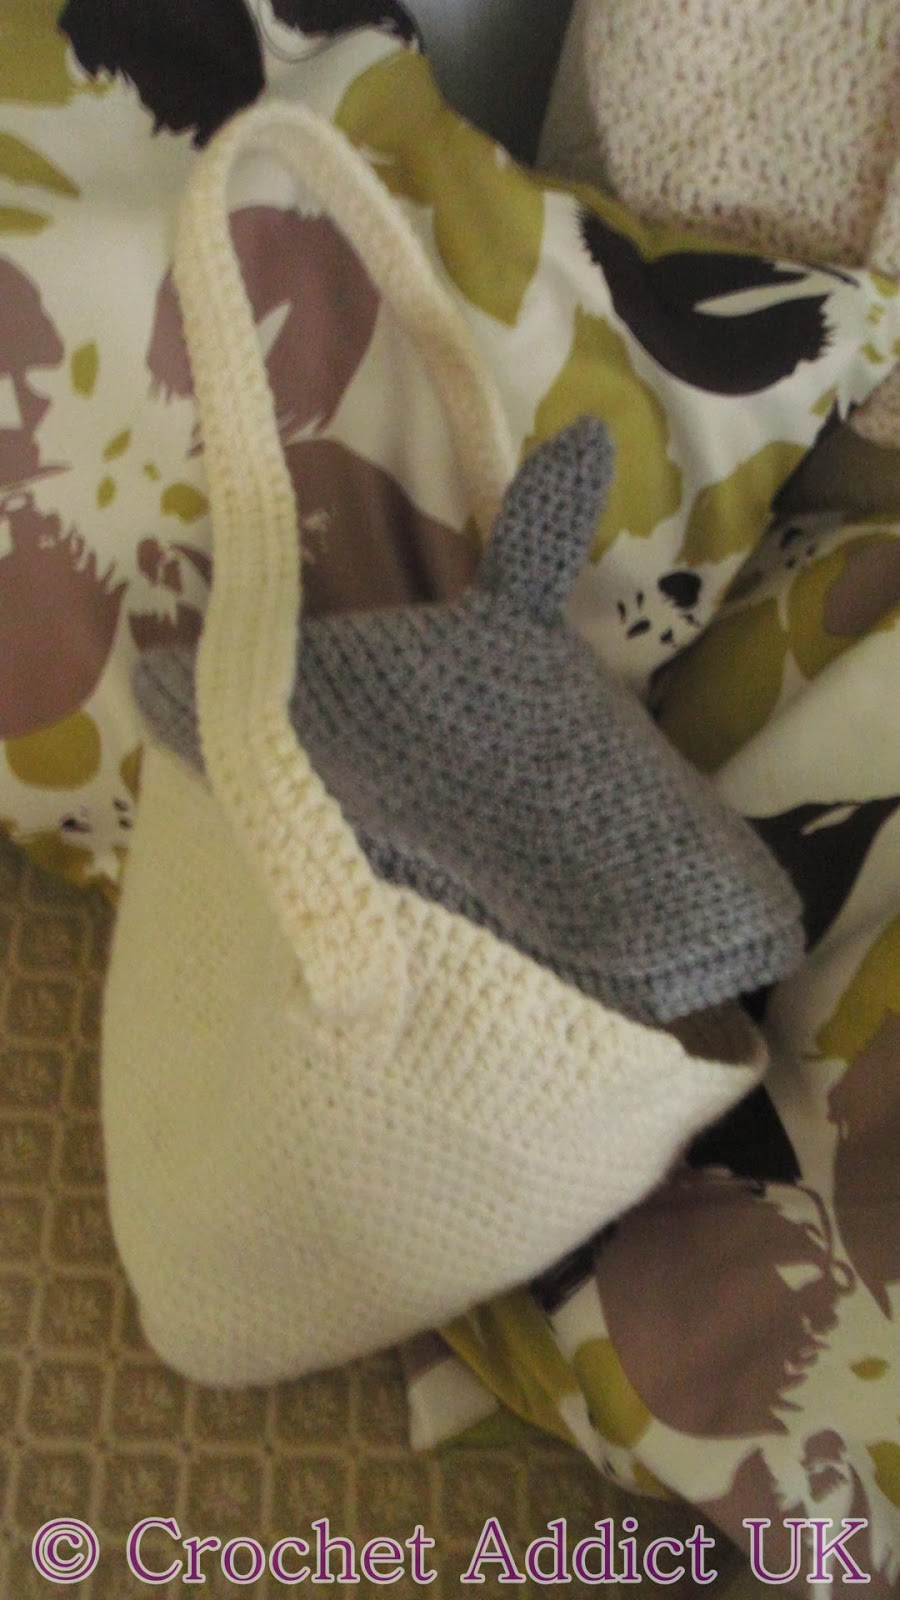
Main Body of Bag:
I used the cream yarn for the body of the bag
Ch 2
Round 1) 8 hdc in 2nd ch from hk (8)
Round 2) 8 hdc inc (16)
Round 3) * 1 hdc, 1 hdc inc* x 8 (24)
Round 4) 24 hdc
Round 5) * 2 hdc, 1 hdc inc* x 8 (32)
Round 6) 32 hdc
Round 7) * 3 hdc, 1 hdc inc* x 8 (40)
Round 8) 40 hdc
Round 9) * 4 hdc, 1 hdc inc* x 8 (48)
Round 10) 48 hdc
Round 11) * 5 hdc, 1 hdc inc* x 8 (56)
Round 12) 56 hdc
Round 13) * 6 hdc, 1 hdc inc* x 8 (64)
Round 14) 64 hdc
Round 15) * 7 hdc, 1 hdc inc* x 8 (72)
Round 16) 72 hdc
Round 17) * 8 hdc, 1 hdc inc* x 8 (80)
Round 18) 80 hdc
Round 19) * 9 hdc, 1 hdc inc* x 8 (88)
Round 20 & 21) 88 hdc
Round 22) * 10 hdc, 1 hdc inc* x 8 (96)
Round 23 - 25) 96 hdc
Round 26 - 29) 96 sc
Round 30) 96 sc, 2 ss, finish
This is the main part of your yarn bag finished.

Strap:
I used the cream for the strap.
Leave enough yarn at the start to sew the strap to the body of the bag.
Ch 101
Row 1) 1 sc in 2nd ch from hk, 99 sc, ch 1, turn
Row 2) 100 sc, ch 1, turn
Row 3) 100 sc, finish (leave enough yarn to sew strap to the bag)
Sew the strap to the bag using the yarn needle. I sewed mine so it lined up with the bottom of the single crochet rounds. I placed mine in the middle of the bag so I can place it over my arm when crocheting standing up.

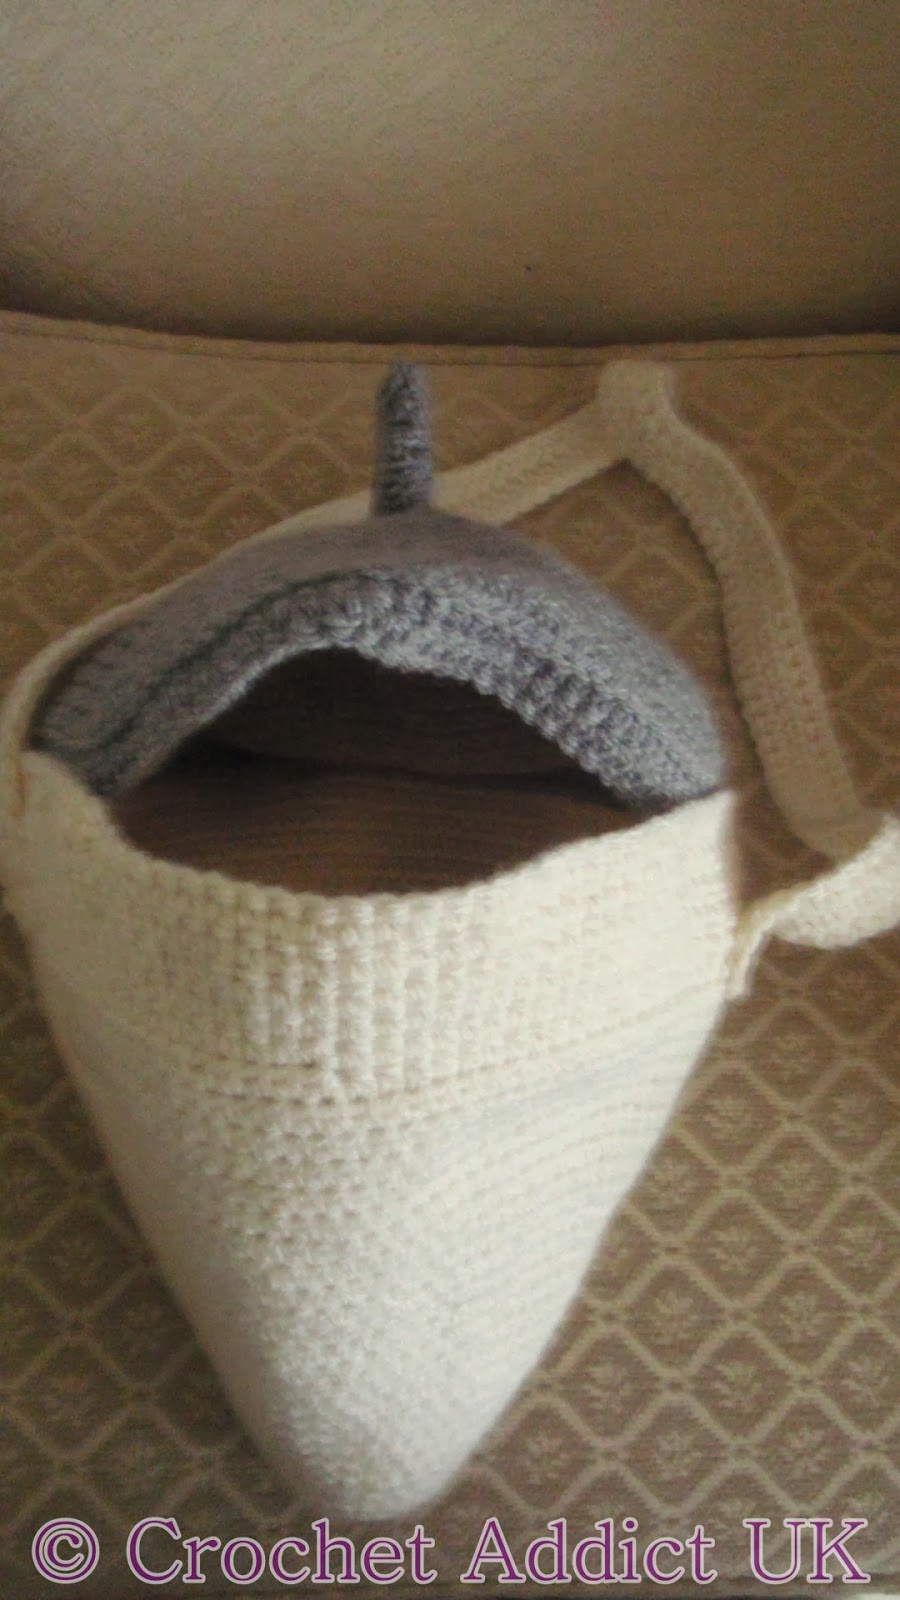
Lid (top):
I used the grey yarn as a contract for the lid.
Round 1) Ch 12, ss to join
Round 2) 12 hdc (carry on at the end of each round & keep moving the stitch marker up to keep the start of the round marked)
Round 3) * 1 hdc, 1 hdc inc* x 6 (18)
Round 4) * 2 hdc, 1 hdc inc* x 6 (24)
Round 5) * 3 hdc, 1 hdc inc* x 6 (30)
Round 6) * 4 hdc, 1 hdc inc* x 6 (36)
Round 7) * 5 hdc, 1 hdc inc* x 6 (42)
Round 8) * 6 hdc, 1 hdc inc* x 6 (48)
Round 9) * 7 hdc, 1 hdc inc* x 6 (54)
Round 10) * 8 hdc, 1 hdc inc* x 6 (60)
Round 11) * 9 hdc, 1 hdc inc* x 6 (66)
Round 12) * 10 hdc, 1 hdc inc* x 6 (72)
Round 13) * 11 hdc, 1 hdc inc* x 6 (78)
Round 14) * 12 hdc, 1 hdc inc* x 6 (84)
Round 15) * 13 hdc, 1 hdc inc* x 6 (90)
Round 16) * 14 hdc, 1 hdc inc* x 6 (96)
Round 17) sc around using front loop only (96)
Round 18) sc around (96)
Round 18) sc around, 2 ss, finish (leave enough yarn to sew the top to the body of the bag)
You can carry on the increase rounds if you want the lid to be on the outside of the bag.
I pinned mine and sprayed with starch to make sure the lid kept it's shape

Lid middle:
Round 1) Ch 12, ss join
Round 2 - 5) Ch 2, 12 hdc, ss join
Round 6) Ch 2, 6 hdc dec, ss join
Round 7) Ch 2, 3 hdc dec, ss join, finish leaving enough yarn to sew to lid.
Sew the middle to the middle of the lid. You now have space for a hook to stick up and stay in place.
Now sew your lid to your bag. I sewed mine so that the lid was on the inside of my yarn bag. This way I wouldn't need to have buttons for fastening etc.


Patterns are just for your own personal use. Do not distribute the pattern without permission. You may sell the items you make but please give credit to me for the pattern.
If there are any problems with the pattern or you have any queries please do not hesitate to contact me.
Susand1408@gmail.com http://www.crochetaddictuk.com/ ©Crochet Addict UK 2013


Fantastic! Can't wait to make one up! Thanks!!!
ReplyDeleteYou are more than welcome!
DeleteLove the new bag and LOVED the one you made for me!!
ReplyDeleteGlad you like them!
DeleteCute bag! Thanks for the pattern!
ReplyDeleteYour more than welcome!
DeleteSuper handy! Great way to use up some stash yarn too. Thanks for the free pattern!
ReplyDeleteGlad you like it. Thanks ever so much!
DeleteSuper cute! Looks like an acorn to me. Find the right colors and it would be a fun bag for Fall. :)
ReplyDeleteGlad you like it. I hope you enjoy the pattern!
DeleteI'm going to make it to use for drop spindling. It'll be great to hold fiber and spindle. Thanks for the inspiration.
ReplyDeleteAre the crochet terms UK or North American
ReplyDeleteAs per top of the pattern it states U.S. Terms used
Delete